How to Take Clothing Product Photos with AI
Learn how to create professional clothing product photos with AI from a single image. Follow this step-by-step guide to design stunning visuals.
Great product photography can make or break an online clothing brand. But between studio rentals, models, photographers, and reshoots, it’s easy for costs and timelines to spiral. AI has changed that. With the right workflow, you can shoot one clean product photo at home and generate polished, on-brand visuals for your product pages, ads, and campaigns without needing a studio.
In this guide, we’ll walk through a simple, repeatable process to create professional clothing images using AI. You’ll learn how to capture a strong base photo, cut it out cleanly, and generate different styled scenes that match your brand.
To keep things practical, we’ll use a red Chicago hoodie as our example, showing how we can go from a single photo to a full set of PDP, lifestyle, and hero images. (For the example, we’ll be using Outfit, but the workflow works with any good AI tool.)
Why this works
Product photography has always been one of the biggest hurdles for clothing brands. It’s expensive, it takes time, and keeping everything consistent across collections is tough. AI changes that. With one clean, well-lit base photo, you can generate an entire range of professional visuals from product page shots to lifestyle scenes without needing a studio or models.
The reason this works is simple: once lighting, angles, and fabric details are locked into a single high-quality image, AI can reuse that information in different contexts. Instead of reshooting each look, you’re building everything off one solid foundation. It’s faster, cheaper, and your images look like they came from the same carefully planned shoot.
For our Red Chicago Hoodie we’ll photograph it once at home, then upload that base image to Outfit. From there, we can place it in different scenes: a clean studio setup for PDP, a relaxed loft for lifestyle shots, and a warm hero scene for campaigns, all from that single original photo.
Shoot one good “base” photo
Everything starts here. If your base photo is clean, evenly lit, and well-framed, every AI image that follows will look sharper and more realistic. You don’t need a studio or any fancy gear. A phone with a good camera, natural light, and a clean background are more than enough. The goal is to give AI a clear, well-lit photo of your product to build from.
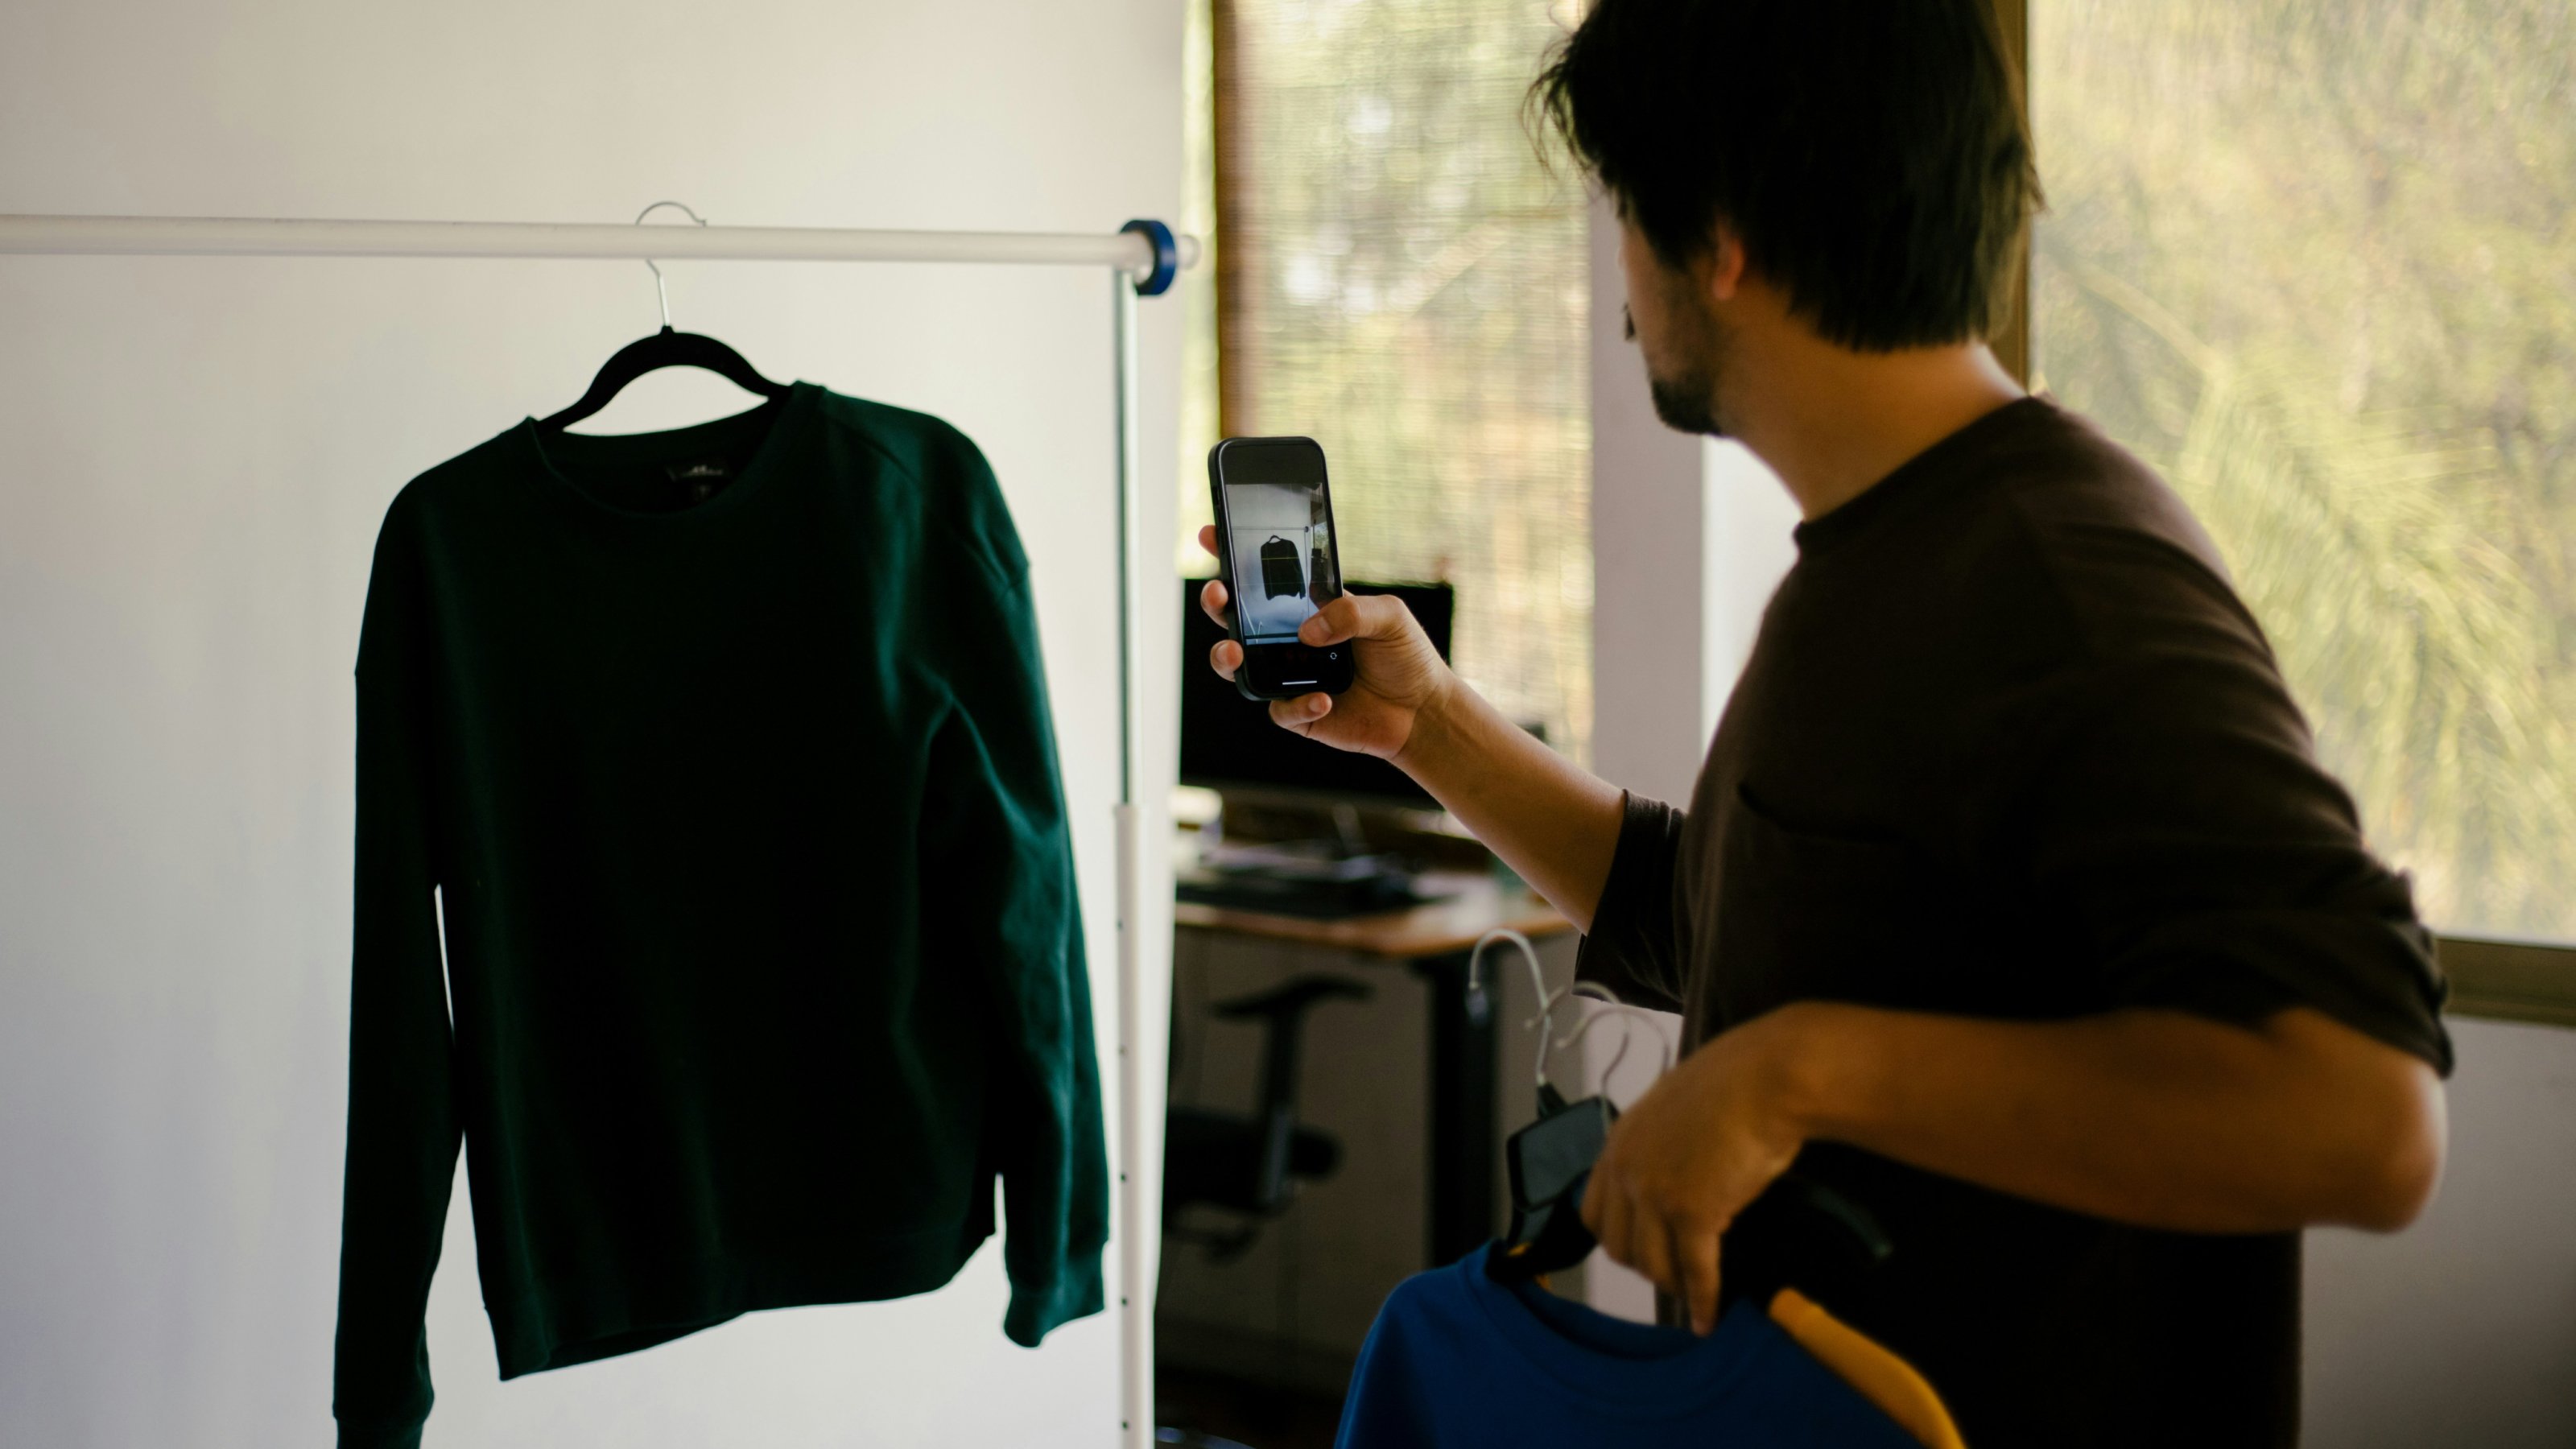
Choose a spot with soft, natural light, a window with indirect sunlight works best. Position your product so the light hits it from one side, and use a white board or paper on the opposite side to gently bounce light back and soften shadows. Keep the background simple and uncluttered so the product stands out clearly.
Hang, lay, or place the item so it looks natural and symmetrical. Smooth out wrinkles, hide tags, and remove lint. Frame the shot straight on, step back slightly, and zoom in a little to avoid the wide-angle distortion that most phones create up close. Tap to focus on the garment and adjust exposure if needed so the fabric looks true to life.
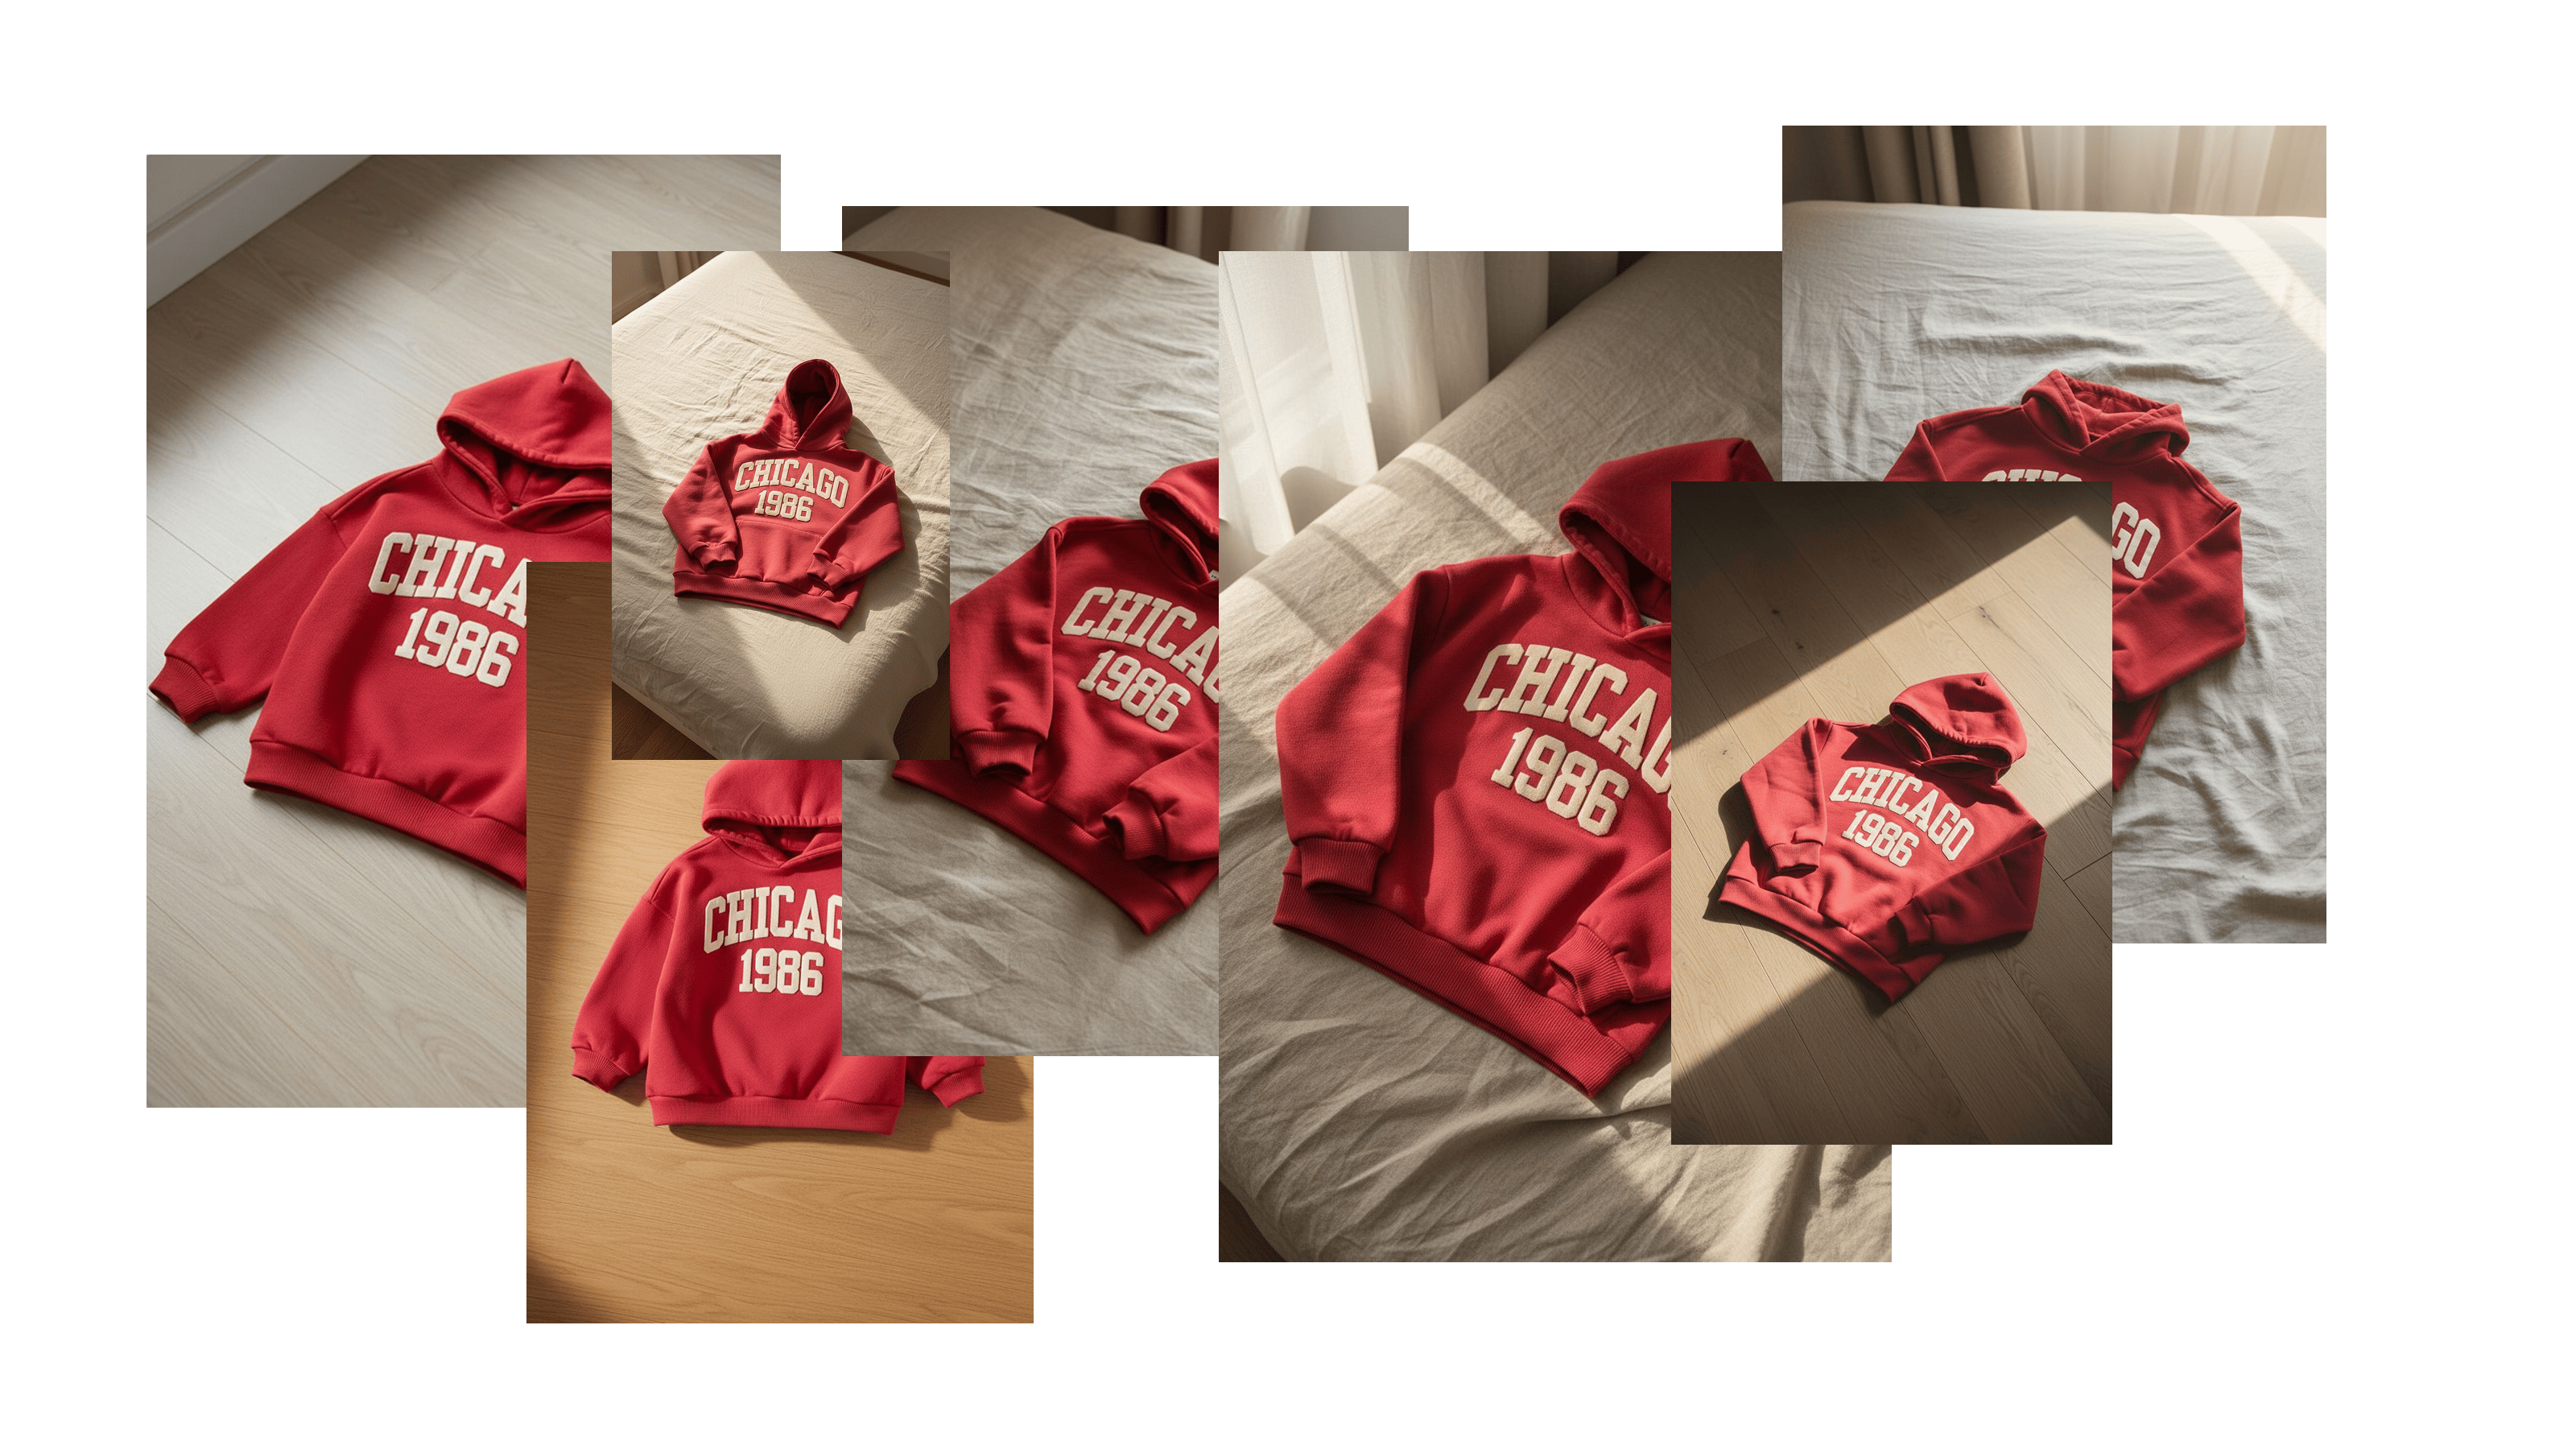
For the Red Chicago Hoodie, we’ll lay it flat on a neatly made bed near a window, with light coming from the left and a white foam board on the right to soften shadows. After smoothing out wrinkles and arranging the sleeves naturally, we’ll shoot a clean, top-down front view. This single, well-lit image will become the foundation for everything we generate later on Outfit.
Let AI do the heavy lifting
Once your base image is ready, it’s time to bring it to life. Think of this step as planning a photoshoot: you decide who’s wearing it, where it’s happening, and what vibe you want. AI gives you full creative control to customize these elements while keeping your imagery consistent and on-brand.
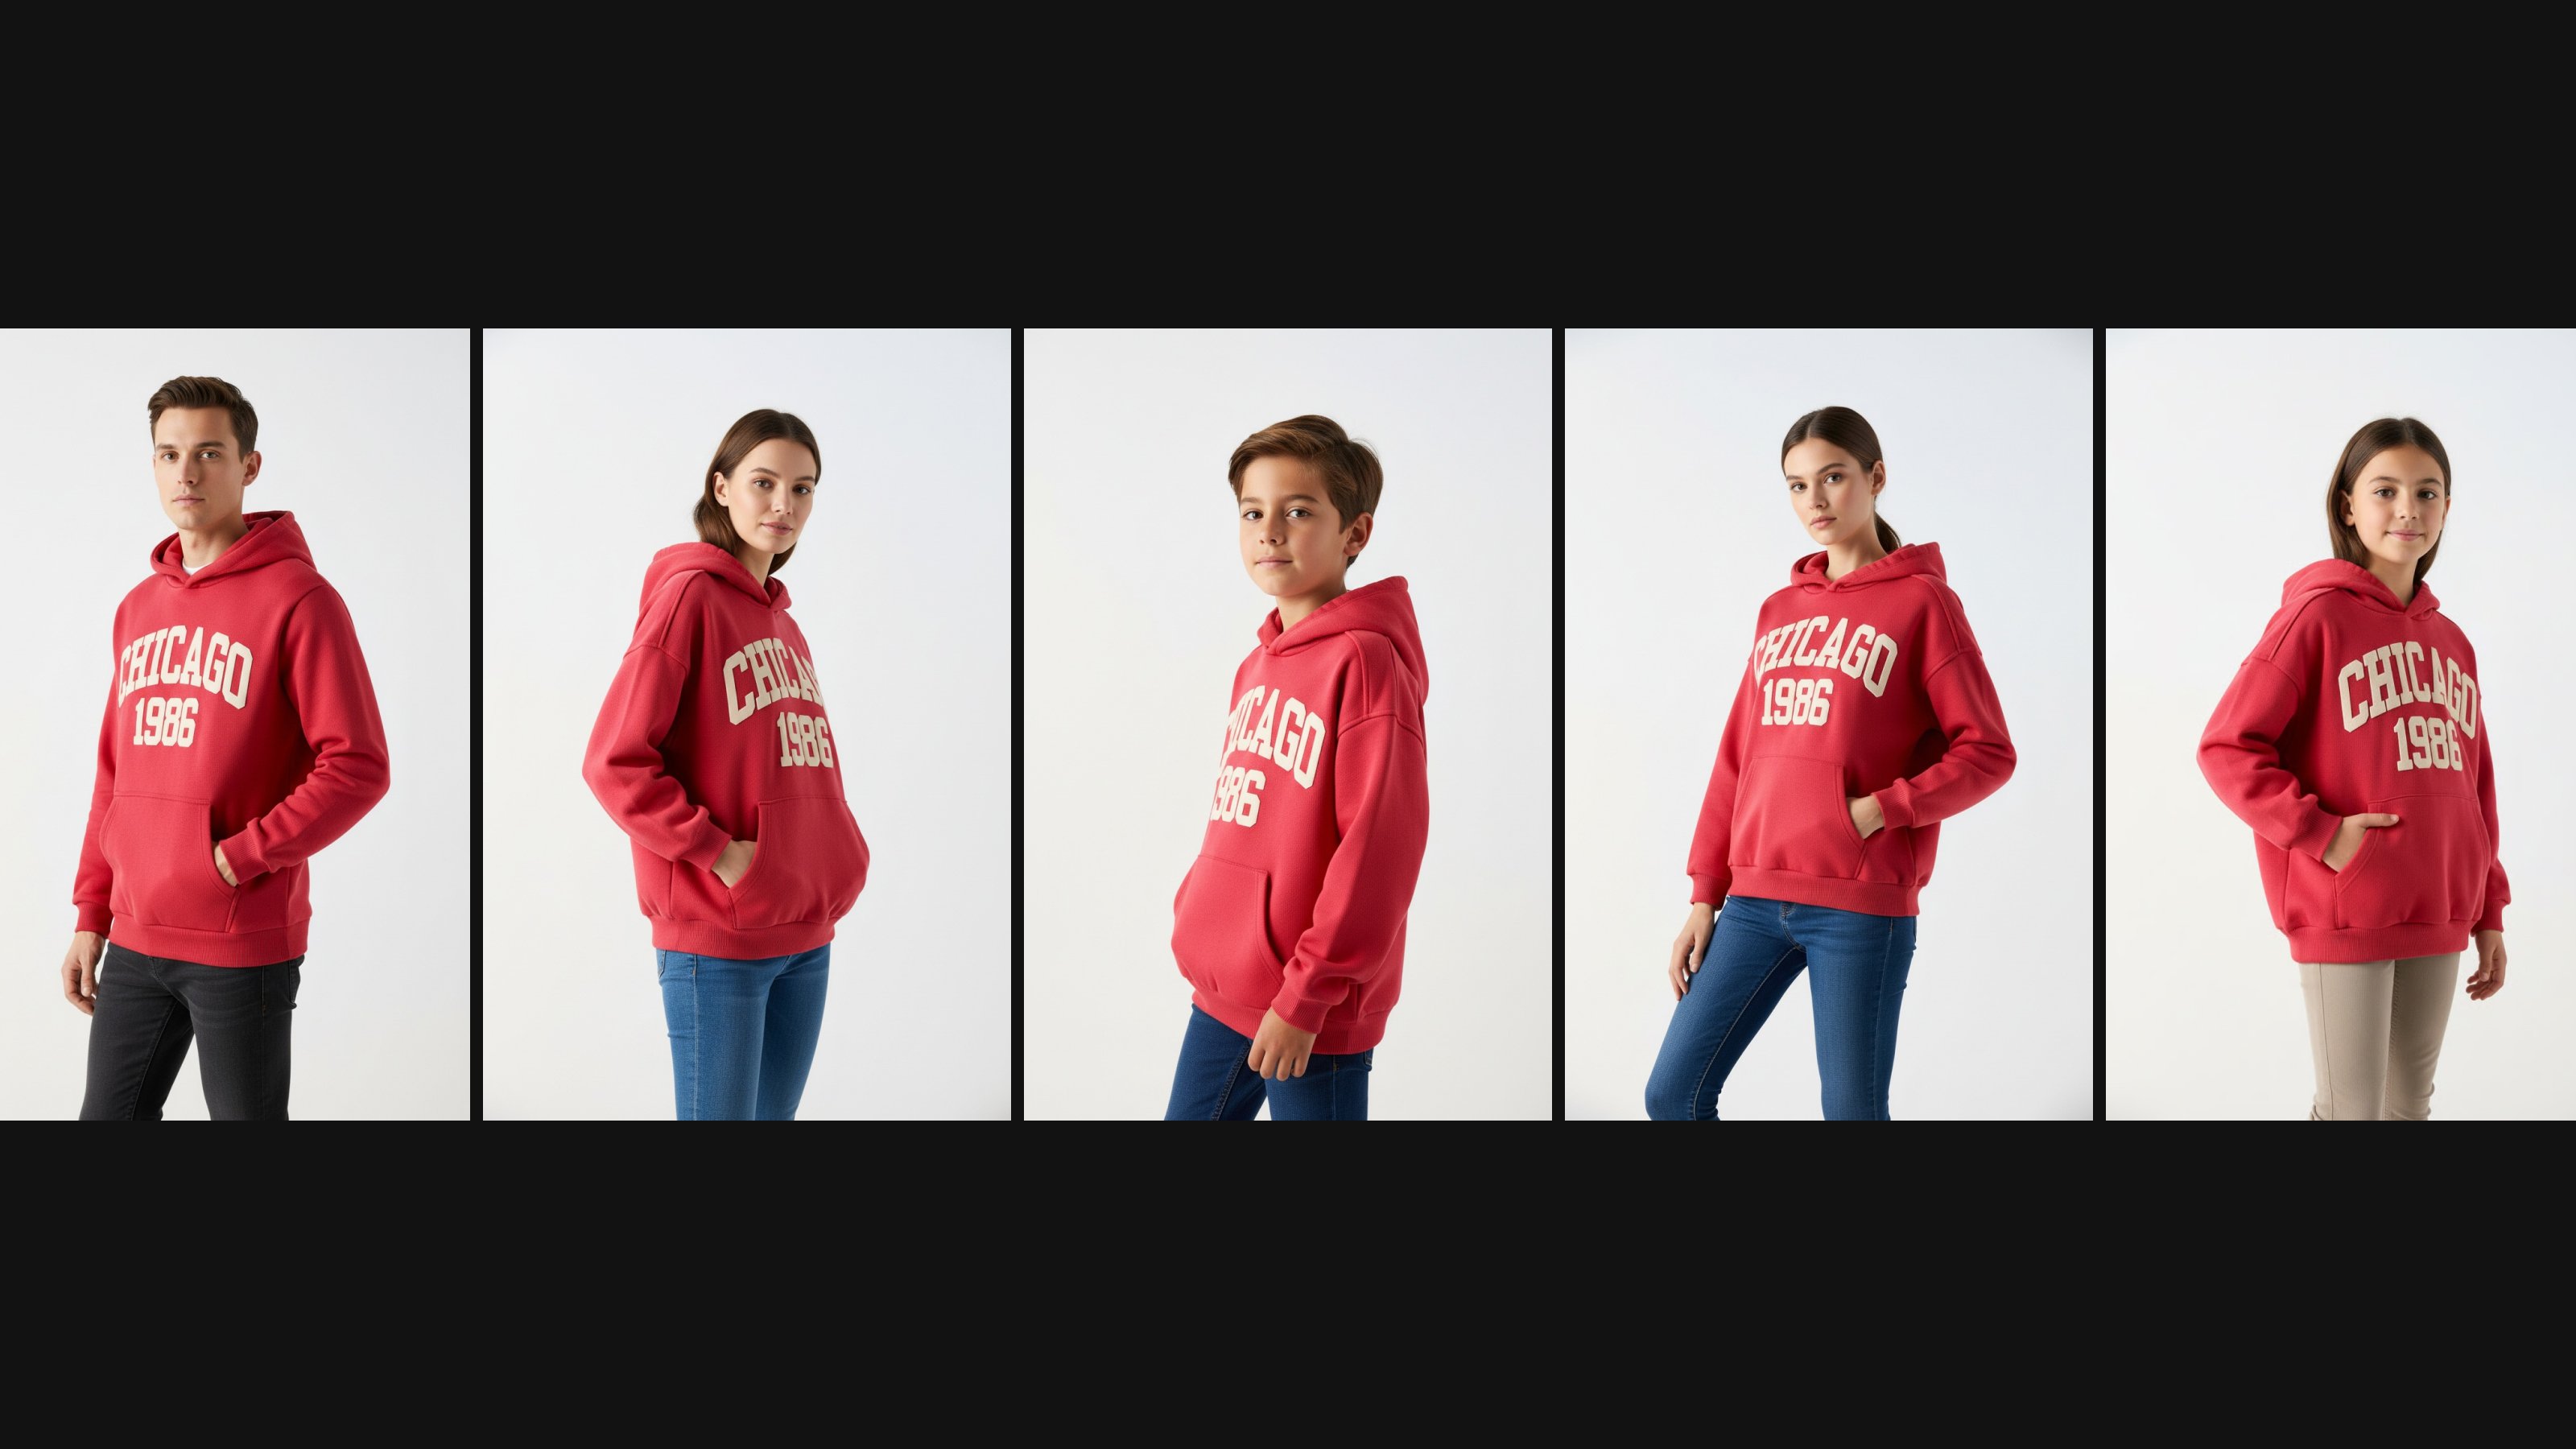
Pick your model
If you’re generating on-model imagery, start by selecting a model that aligns with your brand. Most AI tools let you customize attributes like gender, age, body type, and sometimes ethnicity. Choose models that reflect your target audience and keep the look consistent across products to make your catalog feel unified.
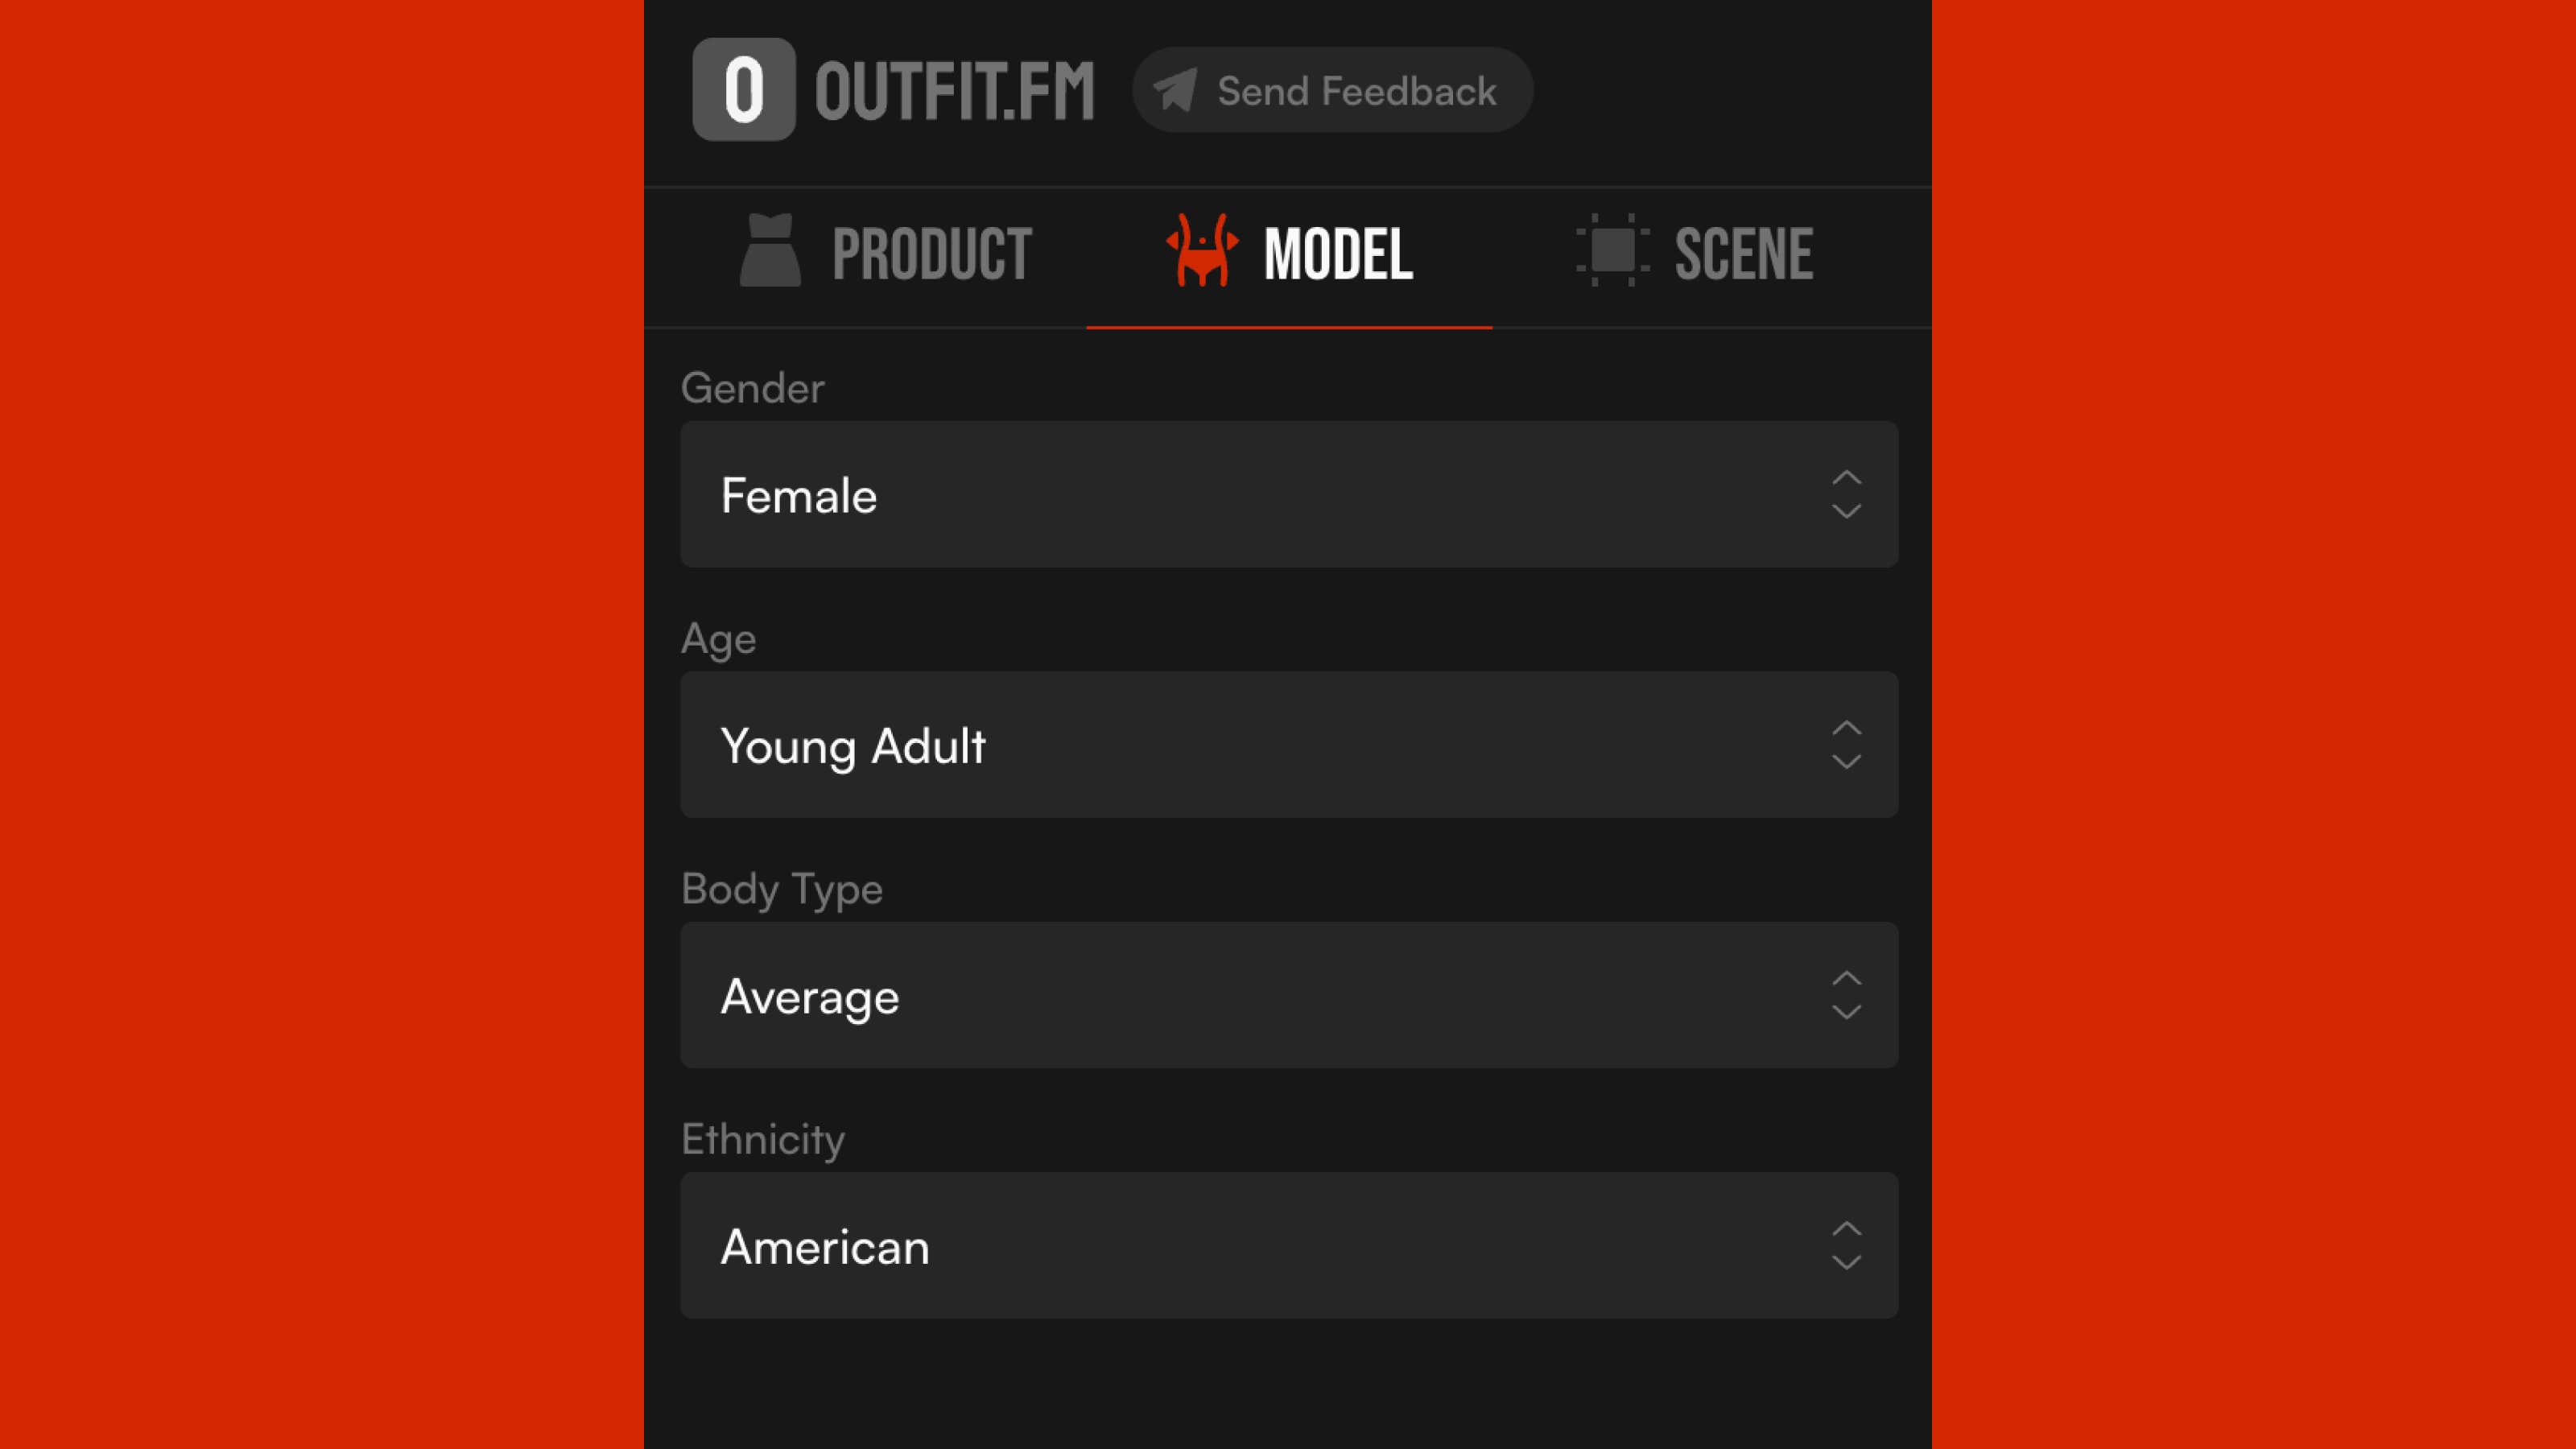
For the Red Chicago Hoodie, we’ll upload the base photo to Outfit and simply select a mix of random model options to generate a variety of looks and see what works best.
Set the scene
Once you’ve chosen your model, decide where and how the product will be presented, and define the overall look you want to achieve. AI tools give you flexibility to place your product in different environments, whether that’s a minimal studio, a lifestyle setting, or something more editorial and expressive.
Think about the purpose of each image. Studio scenes work best for product pages, lifestyle settings are great for social, and more stylized hero looks can anchor campaigns. Alongside location, set the aesthetic direction: is it clean and minimal, warm and lifestyle-driven, or bold and fashion-forward? Consider framing (close-up, mid-shot, full body) and posing to match the mood.
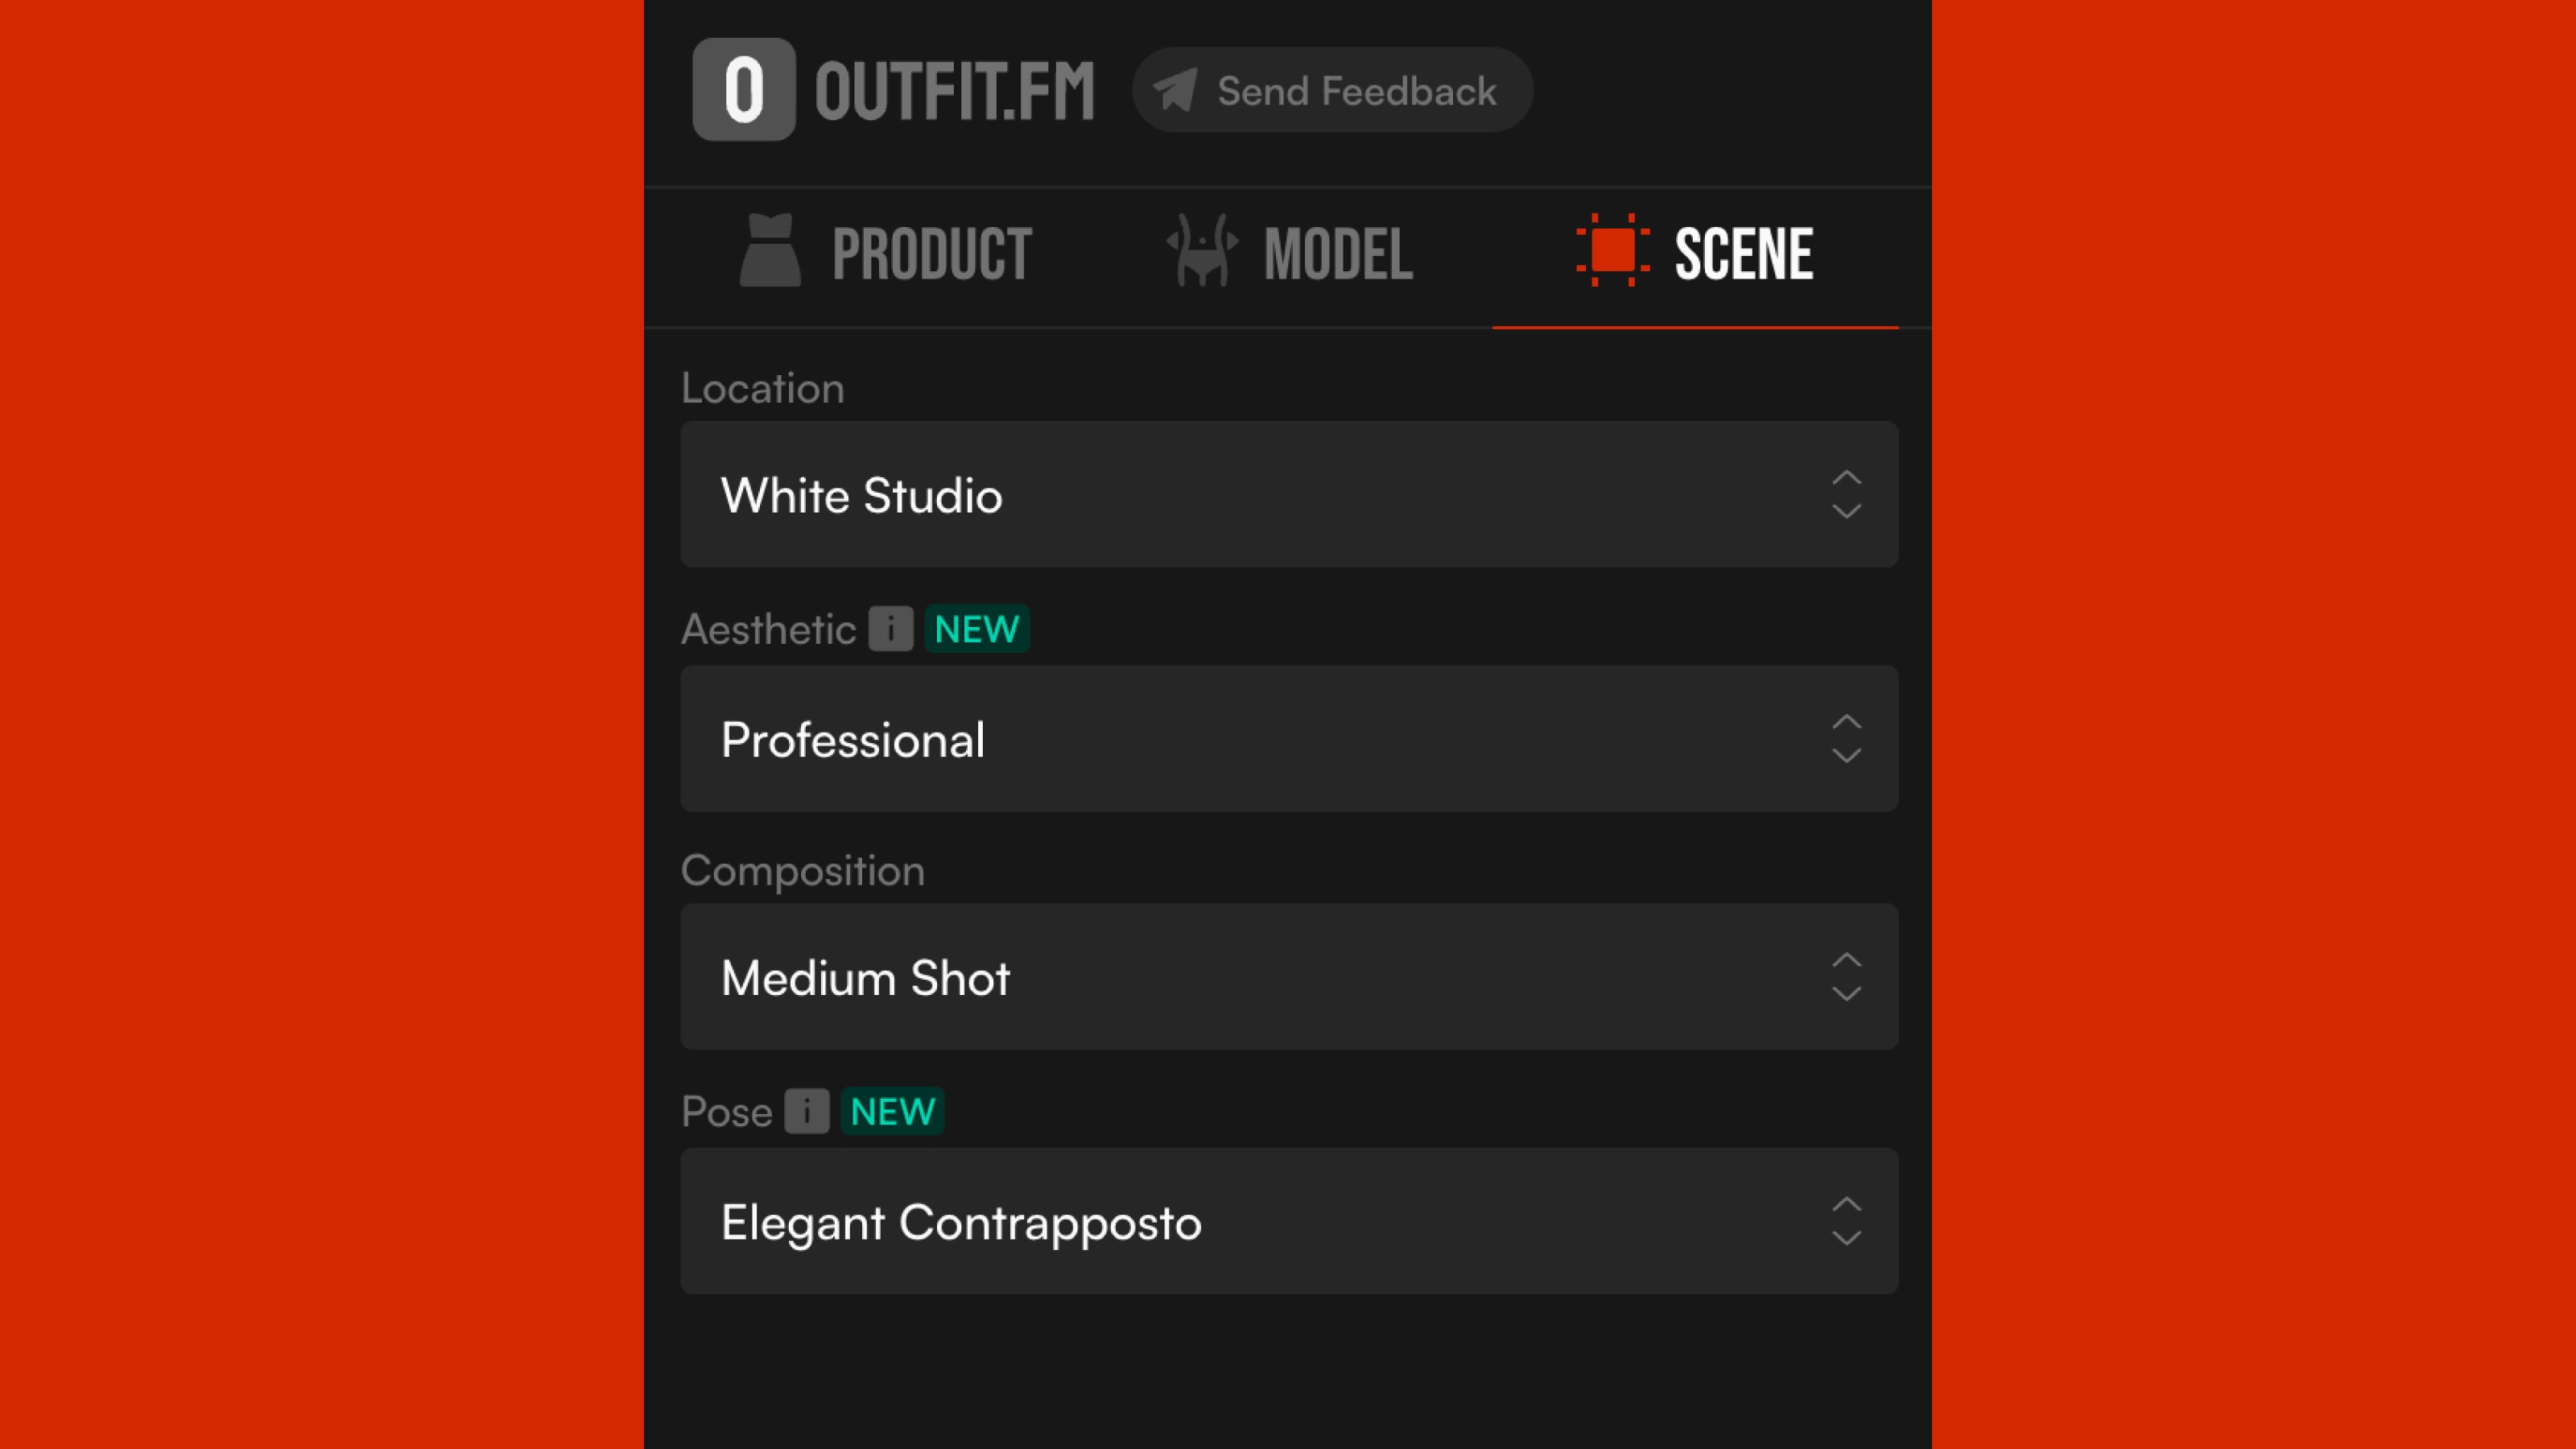
For the Red Chicago Hoodie, we’ll keep things simple and generate a single white studio scene for the PDP, sticking to a clean, consistent look.
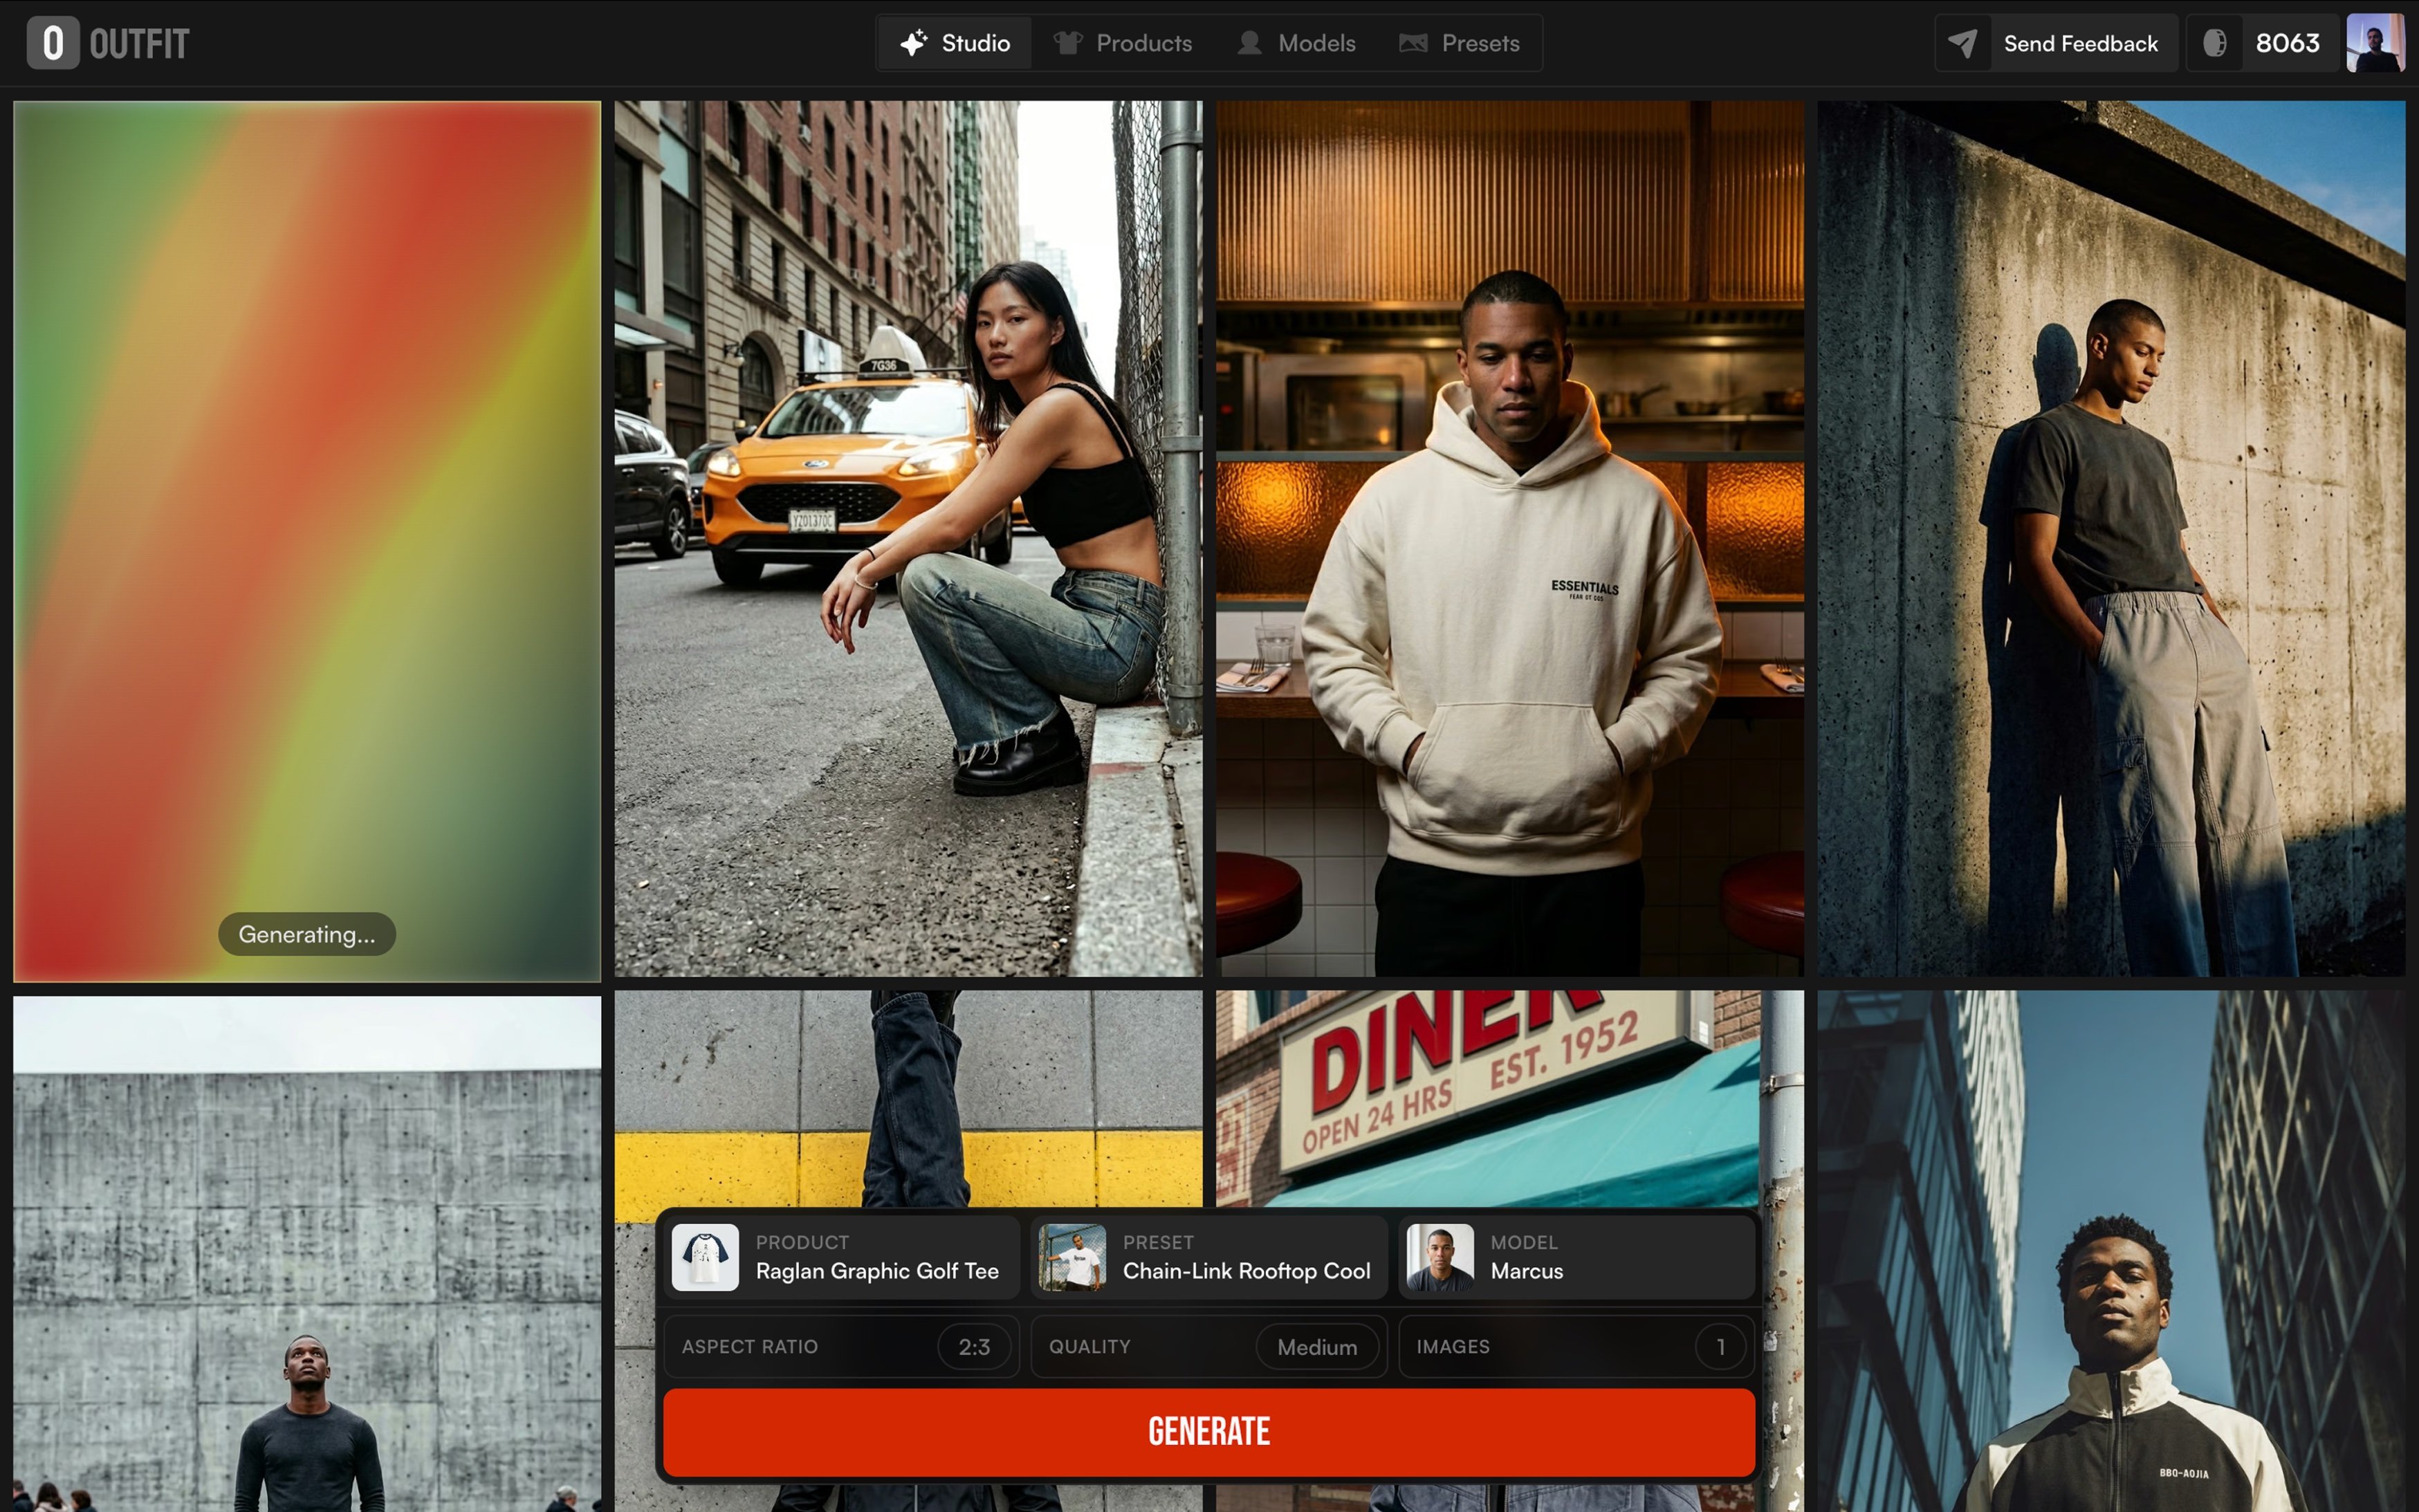
Generate your shots
Once you’ve planned your model, scene, and overall look, it’s time to generate your final images. This is where everything comes together.
Run your chosen setups through your AI tool and produce the variations you need, typically a clean studio shot for your product page, a lifestyle variation for social or lookbooks, and a hero image for campaigns. Stick to the same lighting direction and general tone across all of them so the collection feels consistent.
Take a moment to review each output closely. Look for realistic fabric texture, clean edges, and believable lighting. Small tweaks, like adjusting framing or regenerating a pose, can make a big difference in the final result.
Keep tweaking
Don’t stop at your first set of images. One of the biggest advantages of using AI for product photography is how quickly you can generate and compare different variations. Small changes in model choice, scene, or framing can completely shift how the product looks and feels.
Experiment with multiple outputs for the same setup. Try different poses, framing, or scene variations, then compare them side by side to see which one represents the product best. Look closely at details like fabric texture, lighting realism, and overall mood to decide which images feel the strongest.
If something looks off, whether it’s the lighting, pose, or composition, make adjustments and regenerate. Iterating at this stage helps you lock in the best visual direction before you move on to final export.
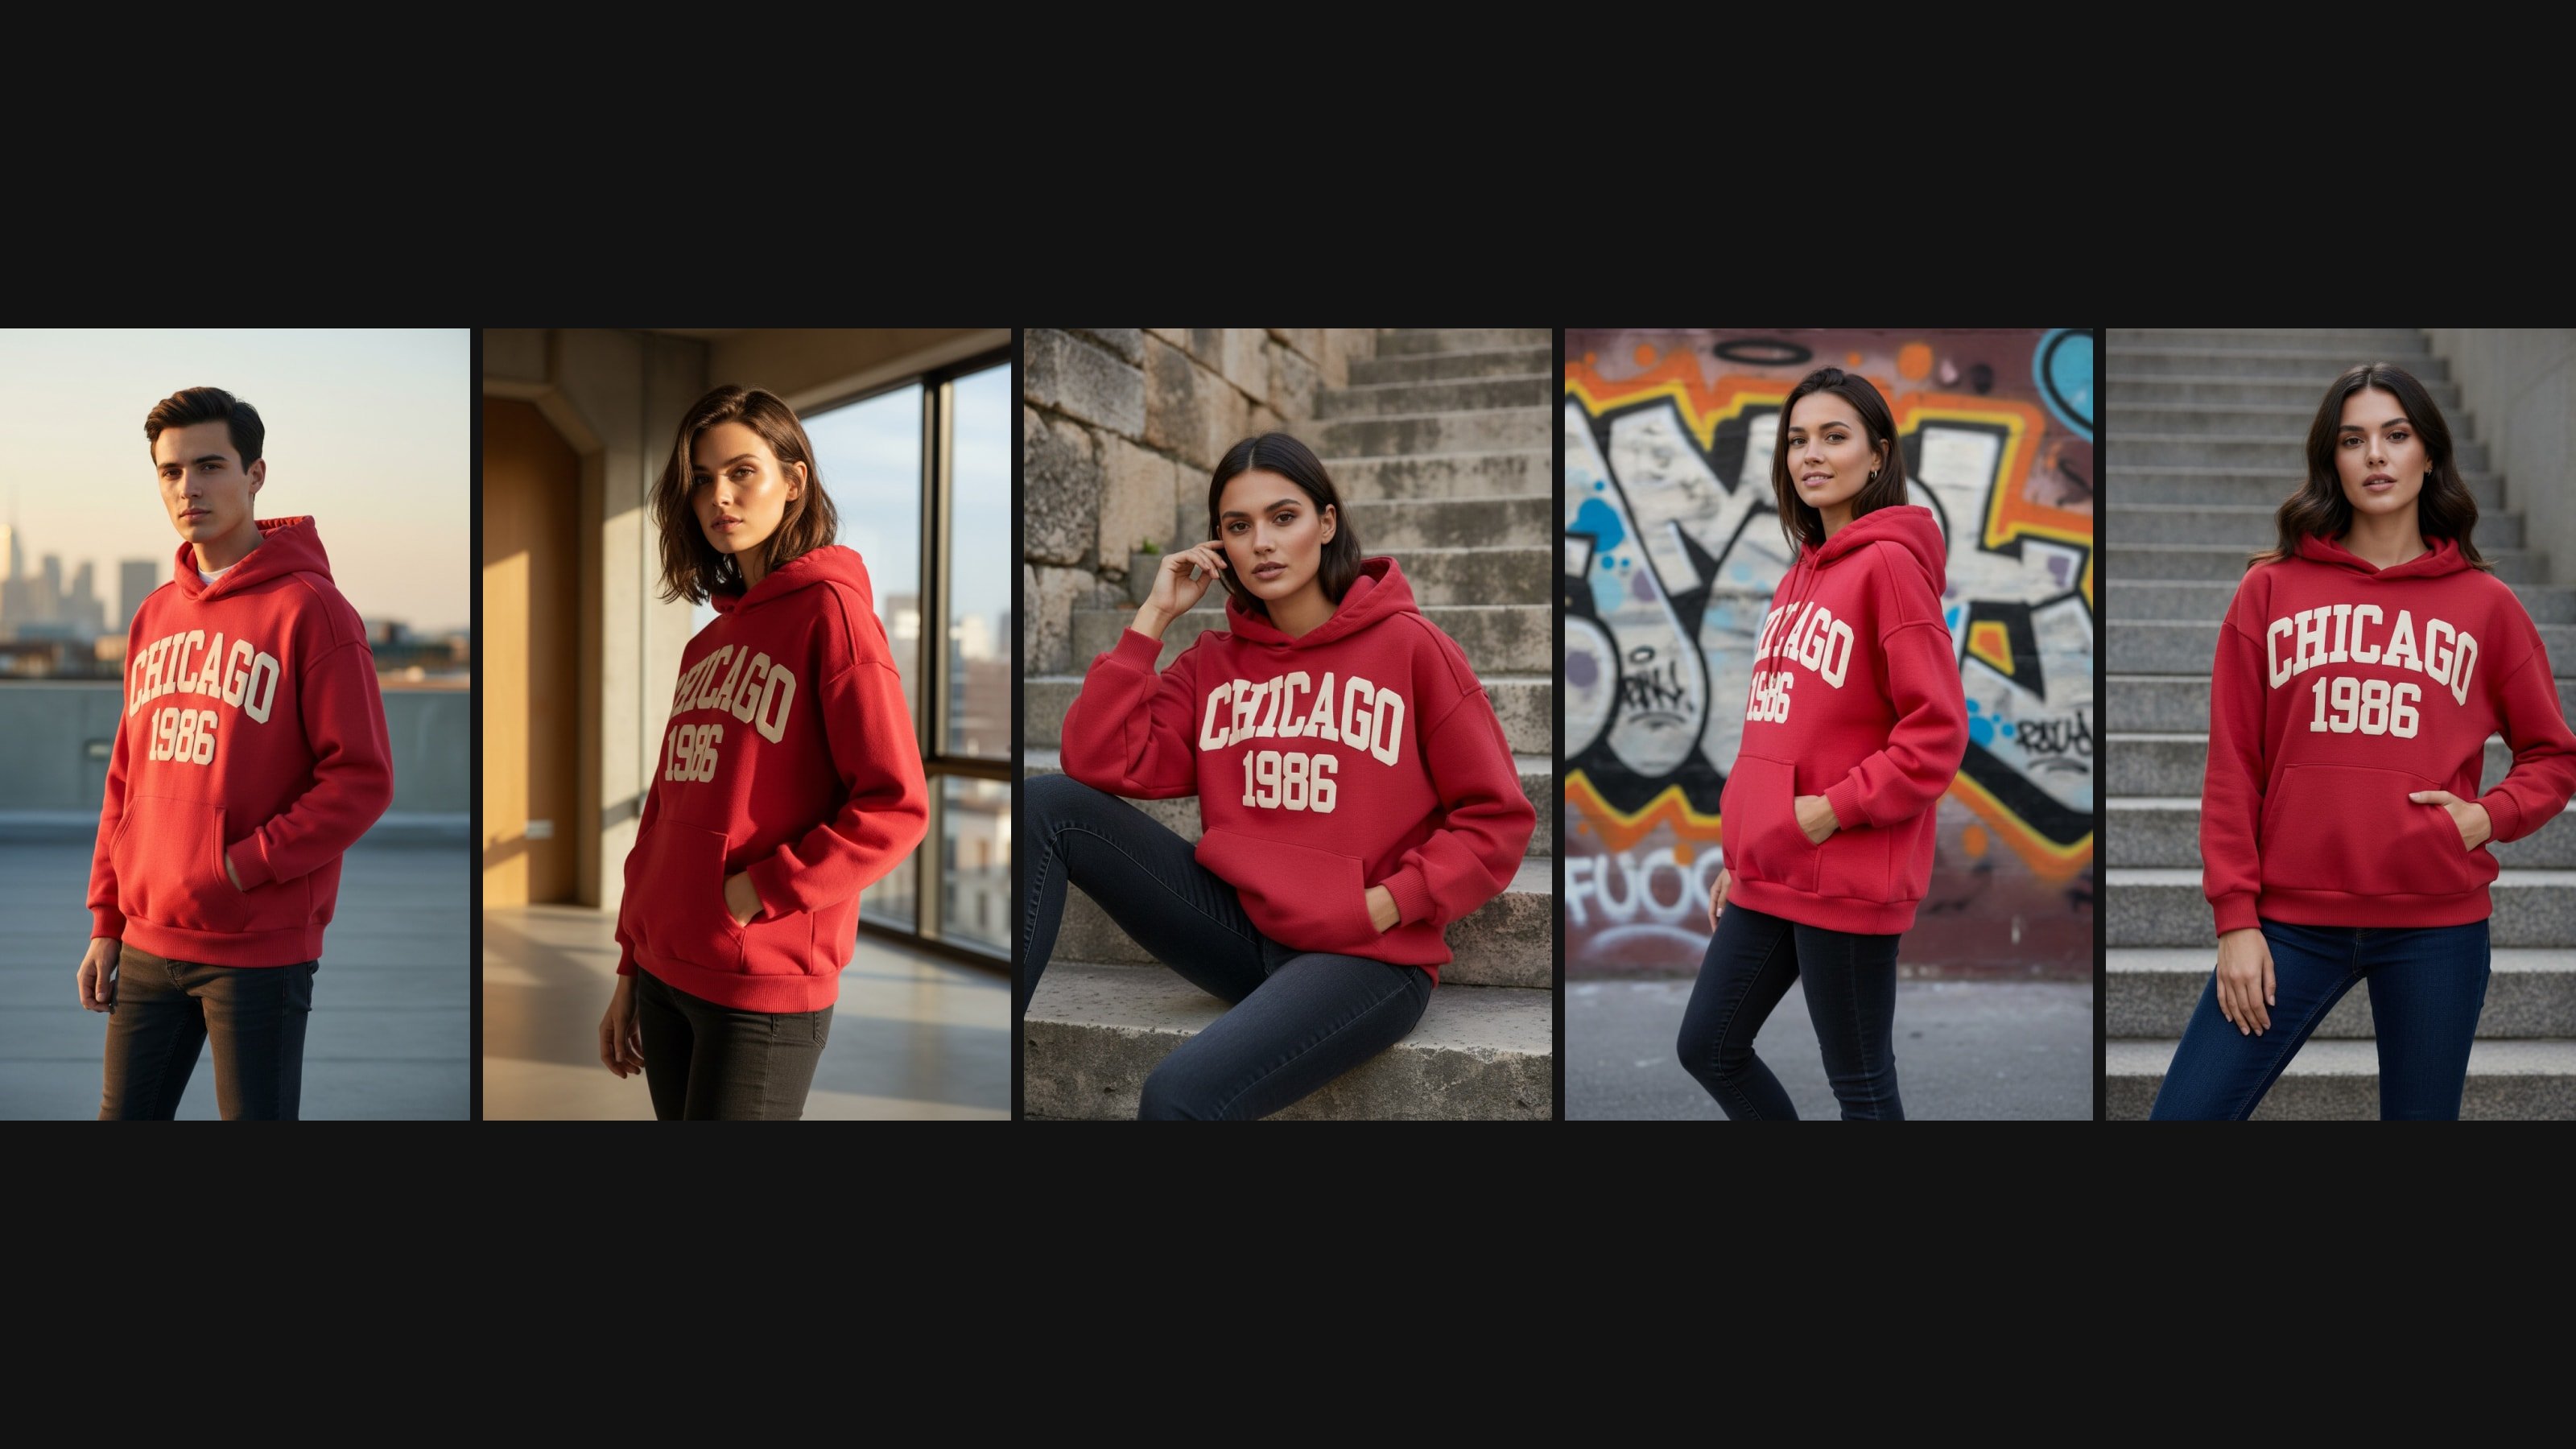
With the hoodie, we might test a loft lifestyle shot versus a minimal studio variation for ads. If the loft scene consistently performs better, that becomes our go-to direction for future campaigns.
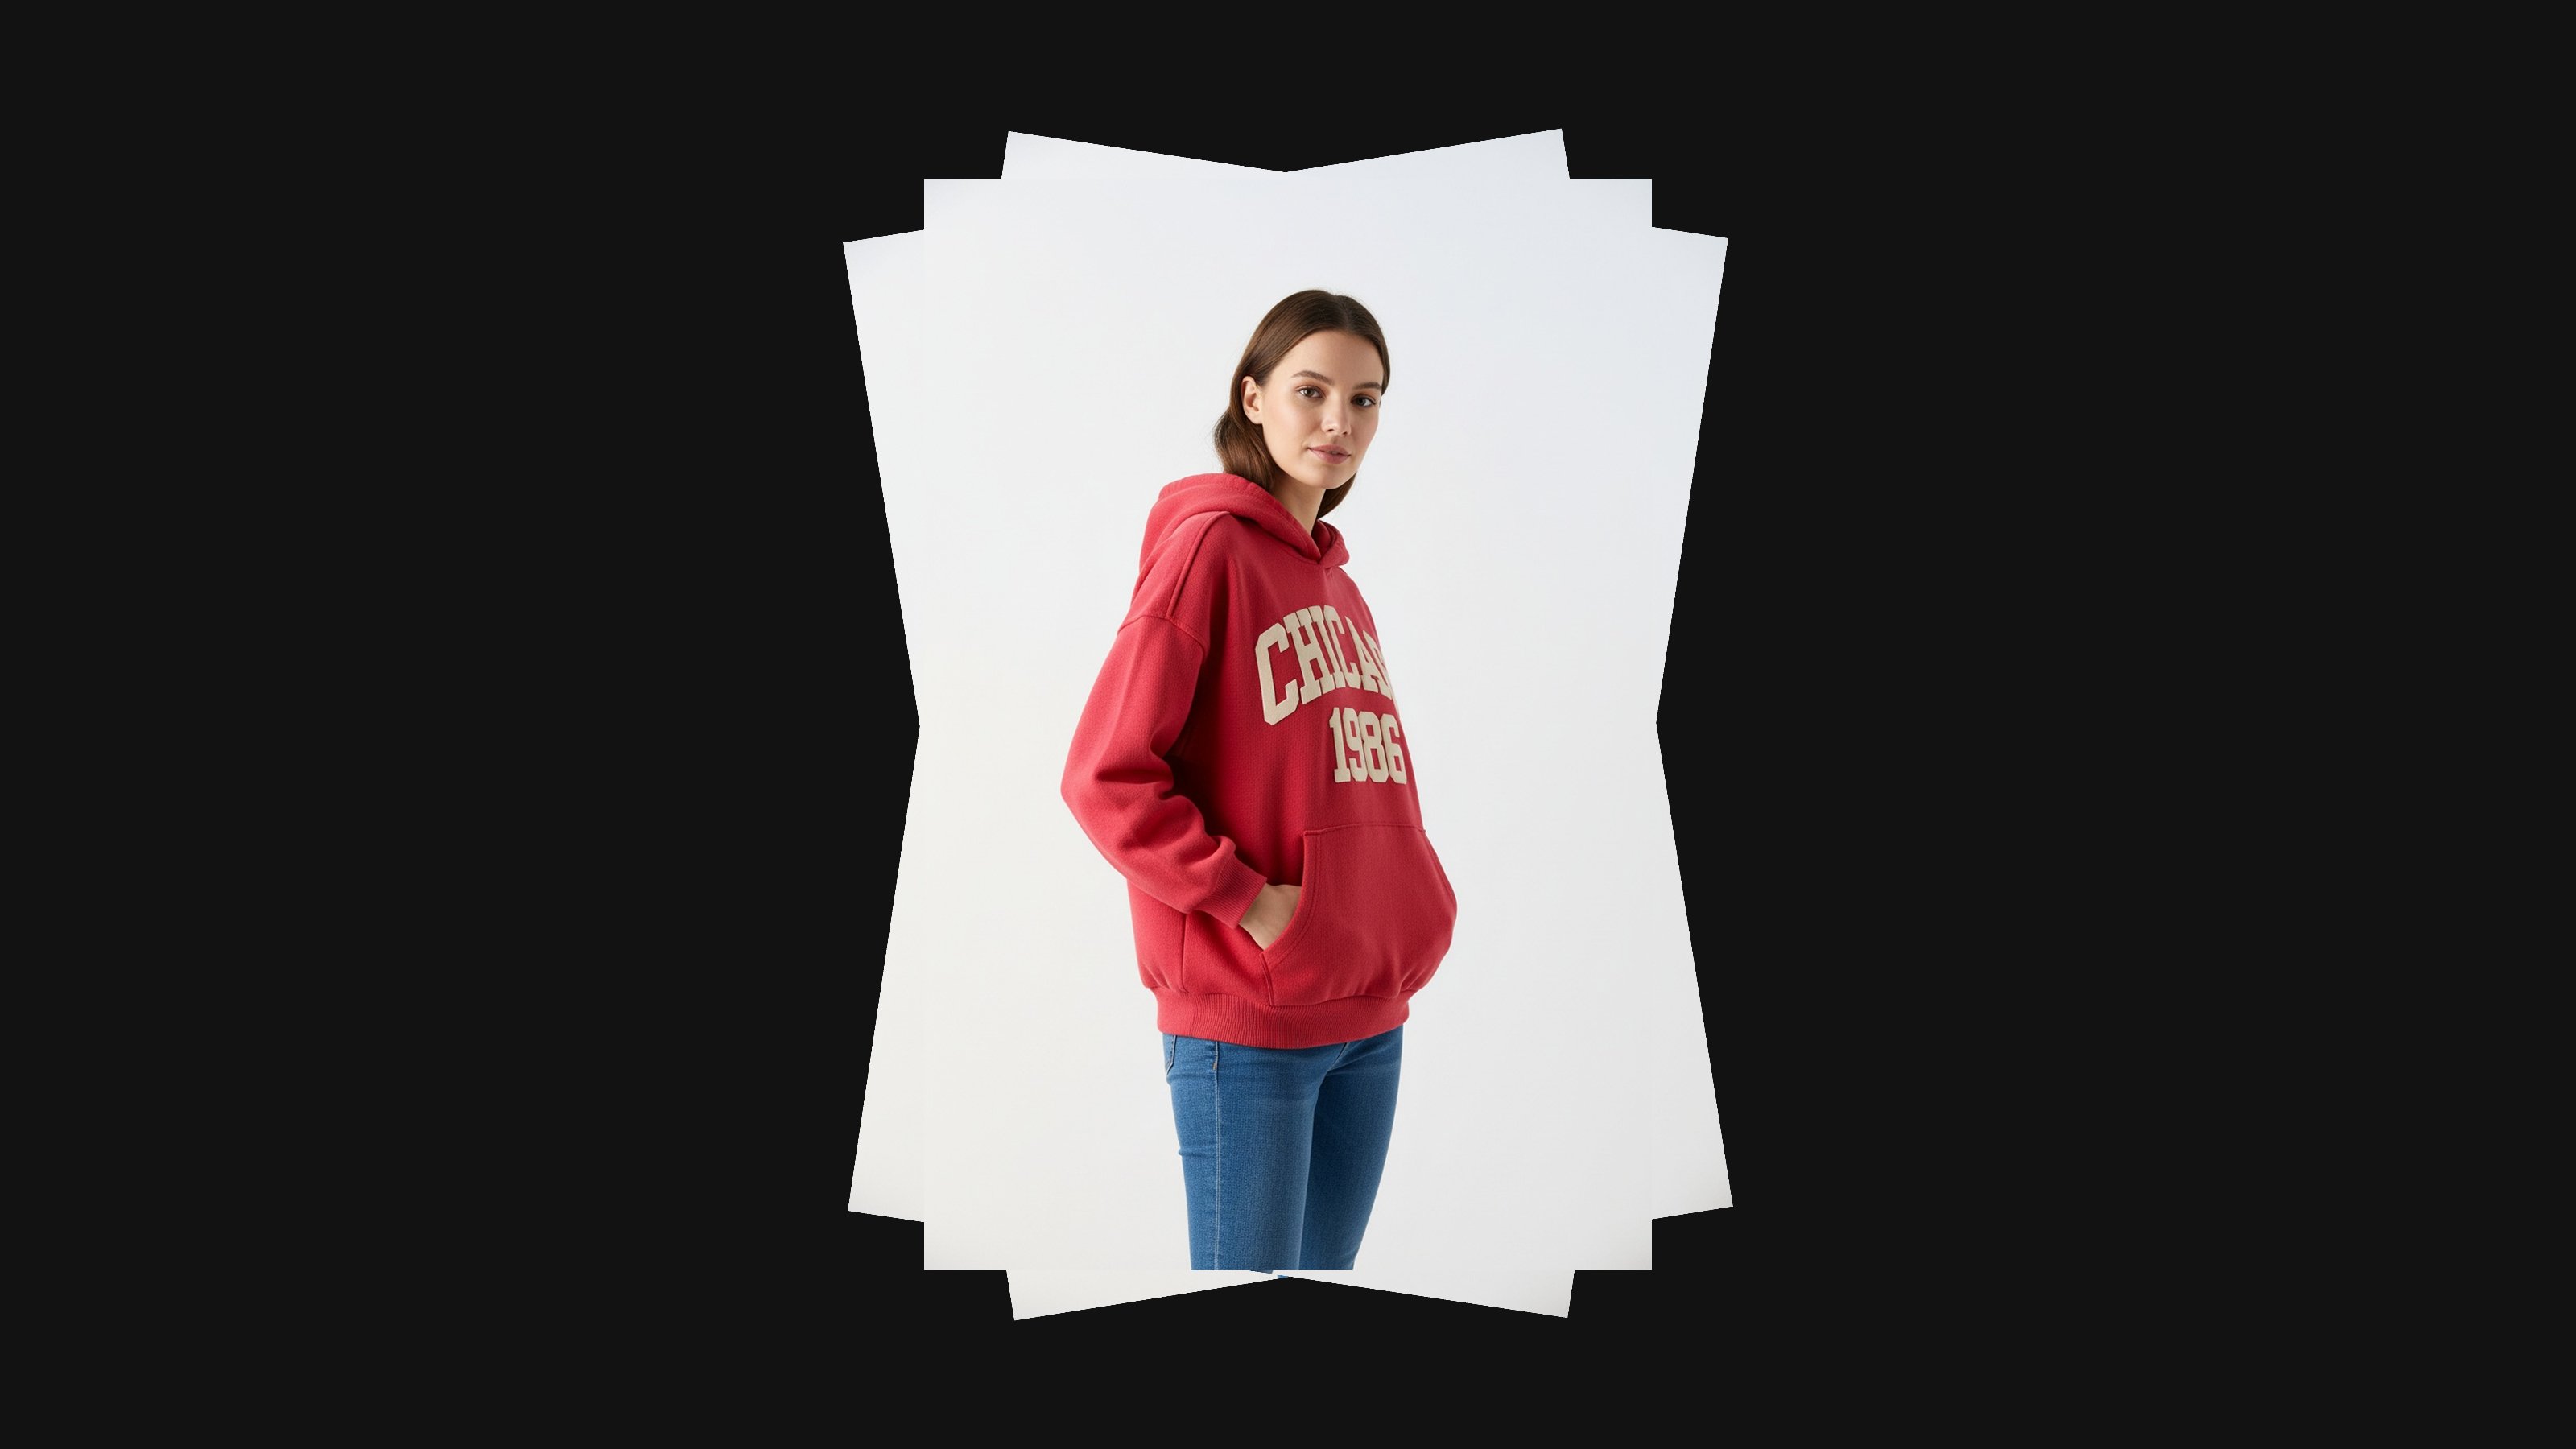
Get your images ready to use
Once your images are ready, the final step is to prepare them for your store, ads, or social channels. This part doesn’t need to be complicated, just keep things clean and consistent.
Export a high-quality square image for your product page. This will usually be your studio-style shot. If you’re creating ads or social posts, prepare a vertical version (like 4:5) to give your visuals more presence in feeds. You can also create a wider hero version if you plan to add text overlays for campaigns.
Name your files clearly so you can find them easily later, and keep a simple folder structure for each product or drop. It doesn’t need to be fancy, just something you can maintain.
Wrapping it up
AI has made high-quality clothing product photography more accessible than ever. With a clear workflow and a strong base image, you can create professional visuals that match your brand without needing a studio, models, or a big team.
Whether you’re launching your first collection or scaling a growing catalog, this approach gives you flexibility, speed, and consistency. It turns product photography from a major hurdle into a repeatable creative tool you control.